6 min read · with Coach Finn
What Tire Pressure Should a Beginner Run?
Part of Cycling From Zero, When You Have Not Ridden Since Childhood
Tire pressure is one of those bike things that sounds way more technical than it actually is. You might have heard people throw around numbers and opinions, and maybe it made you a little nervous about getting it wrong. Good news: it is simple once someone walks you through it, and that is exactly what we are going to do here. No jargon, no shame, just the stuff you actually need.
If you are still working on getting comfortable back on a bike, do not worry about chasing the perfect number yet. Getting close is plenty. Let us start with why this matters at all.
Why Tire Pressure Matters
Think of your tires as the only part of your bike touching the road. How firm they are changes how your whole ride feels.
If your pressure is too low, two things happen. Your tires feel sluggish and slow, like you are pedaling through mud, because the tire squishes and drags. You also risk something called a pinch flat, where hitting a bump or pothole squeezes the tube against the rim hard enough to puncture it. That is the flat nobody wants on a ride.
If your pressure is too high, the ride feels harsh and rattly. Every crack and pebble buzzes straight up into your hands and seat. On top of that, an overinflated tire can feel skittery in corners or on damp roads, because there is less rubber gripping the surface. Neither extreme is dangerous to figure out, so please do not stress. We are just aiming for a comfortable middle.
By the way, if your hands or feet tend to go numb on longer rides, harsh pressure can make it worse. There are other reasons that happens too, which I cover in why your hands and feet go numb on the bike.
The Number on Your Sidewall Is the Source of Truth
Here is the single most important thing in this whole article, so I am going to say it plainly: the number printed on your tire sidewall is the source of truth.
Look at the side of your tire, the part that faces out. Somewhere on that rubber, you will find a recommended pressure range printed right there, usually in psi (pounds per square inch). It might say something like "90 to 120 psi" or "40 to 65 psi." That range was set by the people who made your tire, for your tire. No blog, no friend, and no number you read online beats what is printed on your own equipment.
So before you do anything else, go find that range. Whatever a chart suggests, your sidewall wins. Always.
A Simple Approach for Beginners
Once you have found your range, here is the easy starting plan: inflate to the middle of the printed range.
If your tire says "80 to 110 psi," start around 95. If it says "40 to 65 psi," start around 50. That middle spot is a friendly balance of comfort, grip, and protection from flats, and it is a great baseline while you learn what you like.
From there, you can nudge things to suit you. If you are a heavier rider, or your roads are rough, chip-sealed, or full of cracks, try dropping a little lower within the range. Lower pressure gives you more comfort and more grip. If you are lighter and riding smooth roads, you might creep up a bit. Small adjustments, ten psi at a time, are all it takes. You do not need to be precise. You are just listening to how the ride feels.
Rough Ballpark Ranges (Sidewall Still Wins)
People always want a number, so here are some loose ballparks just to set expectations. Remember, these are only a sanity check, and your sidewall is still the boss.
- Skinny road bike tires (the narrow ones): often somewhere around 80 to 110 psi.
- Wider road or gravel tires: often around 50 to 80 psi.
- Hybrid or wider all-around tires: often around 40 to 70 psi.
If the number on your sidewall disagrees with these, follow your sidewall, not me. Tire technology and widths vary a lot, and the manufacturer knows your exact tire better than any general range ever could.
Tires Lose Air, So Check Before You Ride
Here is something that surprises a lot of beginners: tires lose air on their own, even sitting in your garage doing nothing. It is normal. The air slowly seeps out through the tube and the tire over days. A tire that felt perfect last week can be noticeably soft this week.
So make checking pressure part of your pre-ride routine, the same way you would grab your water bottle. A quick top off before you head out keeps every ride feeling consistent and lowers your flat risk. It takes about thirty seconds once it becomes a habit.
You Will Want a Floor Pump With a Gauge
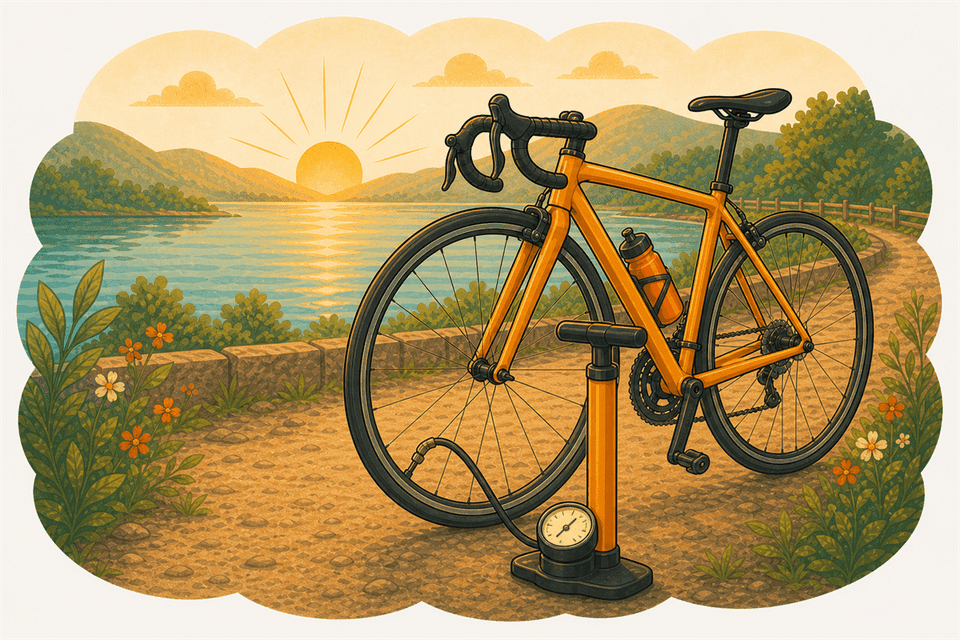
To do any of this, you need the right tool, and it is a humble one: a floor pump (sometimes called a track pump) with a built in gauge.
The gauge is the part that matters. It tells you exactly what pressure you are at, so you are not guessing by squeezing the tire with your thumb. The little hand pumps that fit in a saddle bag are great for emergencies on the road, but they are slow and hard to read for everyday inflating. A floor pump is one of the best early purchases you can make, and it lands on my short list of the gear you actually need for your first triathlon.
Putting It All Together
Let us recap, because you have got this. Find the range on your sidewall. Start in the middle. Nudge lower if you are heavier or your roads are rough. Check your pressure before every ride with a floor pump that has a gauge. Trust your tire over any chart, including mine.
That is genuinely all there is to it. Tire pressure is not a test you can fail. It is just a small, friendly habit that makes your bike feel better under you, ride after ride. As you log more miles, you will start to feel the difference between "a touch soft" and "just right," and that instinct comes faster than you think.
You are doing the brave part already by showing up and learning. Keep at it, be patient with yourself, and come back to couchtotri.com any time you want a hand with the next little thing. I am cheering for you, and I will see you out there.