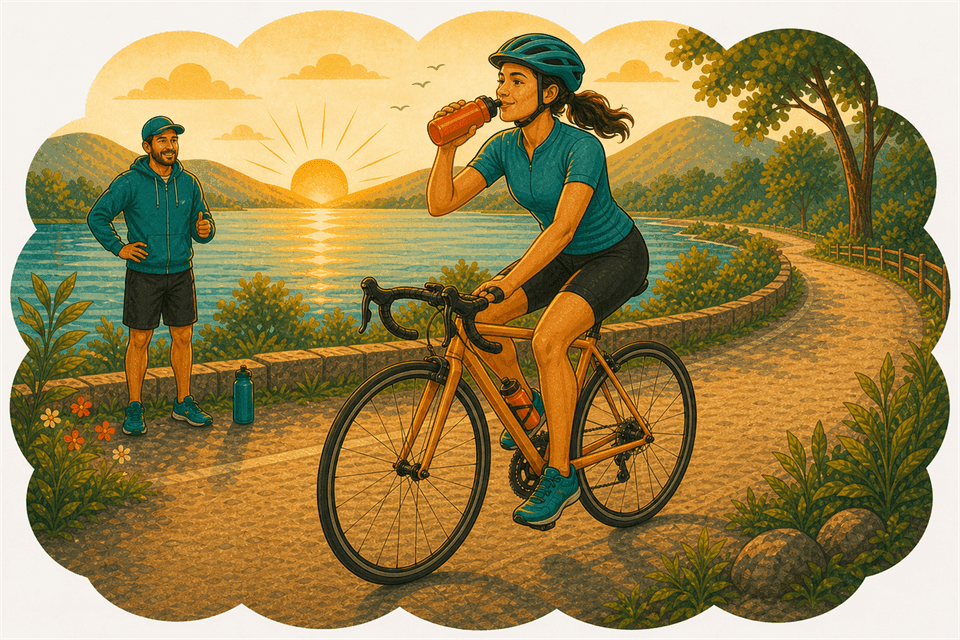
5 min read · with Coach Finn
How to Drink From a Bottle Without Crashing
Part of Cycling From Zero, When You Have Not Ridden Since Childhood
Let me say this right up front: if the idea of letting go of your handlebars to grab a water bottle makes your stomach drop, you are not being silly. You are being sensible. Steering a bike with one hand while moving forward is a real skill, and reaching for a bottle adds a little wobble to the mix. The fear is honest. We are going to honor it, and then we are going to make it small.
By the end of this, you will know how to reach for, sip from, and re-seat a bottle while you ride. And you will know the times when the right move is to simply not do it yet. Both of those count as success.
Why Bother Drinking on the Bike at All
The bike leg of a triathlon is the longest stretch of time you spend moving, and it sits right in the middle of your day. If you go into the run dehydrated, you will feel it in your legs, your stomach, and your mood. Sipping steadily on the bike is how you protect the rest of your race.
Here is the kind thing: hydration is not about one heroic gulp. It is about small, regular sips. That means you do not need to be a smooth, no-hands cyclist. You just need to get comfortable taking the bottle, drinking a little, and putting it back. That is the whole job.
Where Your Bottle Lives
Most bikes have one or two bottle cages, which are the little plastic or metal holders bolted to the frame inside the main triangle. Your bottle slides down into the cage and sits there snugly until you pull it out. If your bike does not have a cage yet, they are cheap and easy to add, and you can read more about the gear you actually need for your first triathlon so you do not over-buy.
Spend a minute at home, bike standing still, just pulling the bottle out and pushing it back in. Notice the angle. Notice how much of a tug it takes. The less your hand has to search for it while you are rolling, the safer you will be.
Practice Where It Is Boring and Safe
Do not learn this in traffic. Please. The best places to practice are a quiet, flat road with no cars, an empty parking lot, or an indoor trainer where your bike does not go anywhere at all. The trainer is honestly the gold standard, because you can rehearse the entire reach-sip-return motion with zero balance risk.
Wear your helmet every single time, even in the parking lot, even on the trainer if it makes the habit stick. If you are still working on feeling steady in the saddle generally, it is worth spending some time getting comfortable back on a bike before you add the bottle on top.
The Step by Step
When you are on a calm, flat stretch with clear road ahead, here is the sequence:
- Look ahead first. Pick a smooth patch of road maybe ten to twenty feet in front of you and keep your eyes there. You steer where you look, so looking down at the bottle is what causes the wobble, not the reaching.
- Move one hand to the center of your handlebars, near the stem. A hand near the middle keeps your steering calm and steady.
- Reach down with your other hand and pull the bottle straight up out of the cage. Keep pedaling smoothly the whole time. Coasting makes you less stable, not more.
- Bring the bottle up to your mouth. Do not drop your head down to the bottle. Your eyes stay up, the bottle comes to you.
- Take a sip. One or two swallows is plenty. This is not the moment for a long drink.
- Lower the bottle back to the cage and slide it firmly down until it seats. Give it a small press to be sure.
- Return both hands to the bars and take a breath. You did it.
The first few times, every step will feel like a lot. After a week of short practice, the whole thing becomes one smooth motion you barely think about.
When NOT to Drink
This is the part that keeps you upright, so I want it to be crystal clear. Do not reach for your bottle when:
- You are going downhill. Descents need both hands and all of your attention. If you also get a knot in your stomach on hills, you are in good company, and easing the fear of going downhill can help.
- You are in a corner or turning.
- There is traffic, other riders close by, or anything you need to react to.
- The road is rough, bumpy, or full of gravel and cracks.
The rule is simple: only drink when the road is smooth, straight, flat, and clear. If any of those four things is missing, wait. The bottle is not going anywhere.
It Is Always Okay to Slow Down or Stop
Here is the permission slip you might be waiting for. You are allowed to slow way down to drink. You are allowed to soft-pedal. And you are completely allowed to pull over, unclip, plant a foot, and drink while standing still. Nobody is taking points away. In a Sprint, an Olympic, a 70.3, or even an Ironman, finishing well-hydrated beats finishing fast and wrecked.
Drinking one-handed at speed is a convenience, not a requirement. Plenty of happy triathletes ease off to sip for their first season or three. You will pick up the smooth version naturally as your comfort grows, and there is no deadline.
You Have Got This
Start on the trainer or that quiet flat road. Take it one sip at a time. Let yourself slow down whenever you want to. The confidence you are building here, eyes up, hands calm, breathing steady, is the same confidence that carries you through your whole first race.
You are doing the real work, and I am proud of you for it. Come back to couchtotri.com whenever you want the next small, friendly step. I will be right here cheering you on, one bottle at a time.